Creating your first event
Updated July 23, 2026
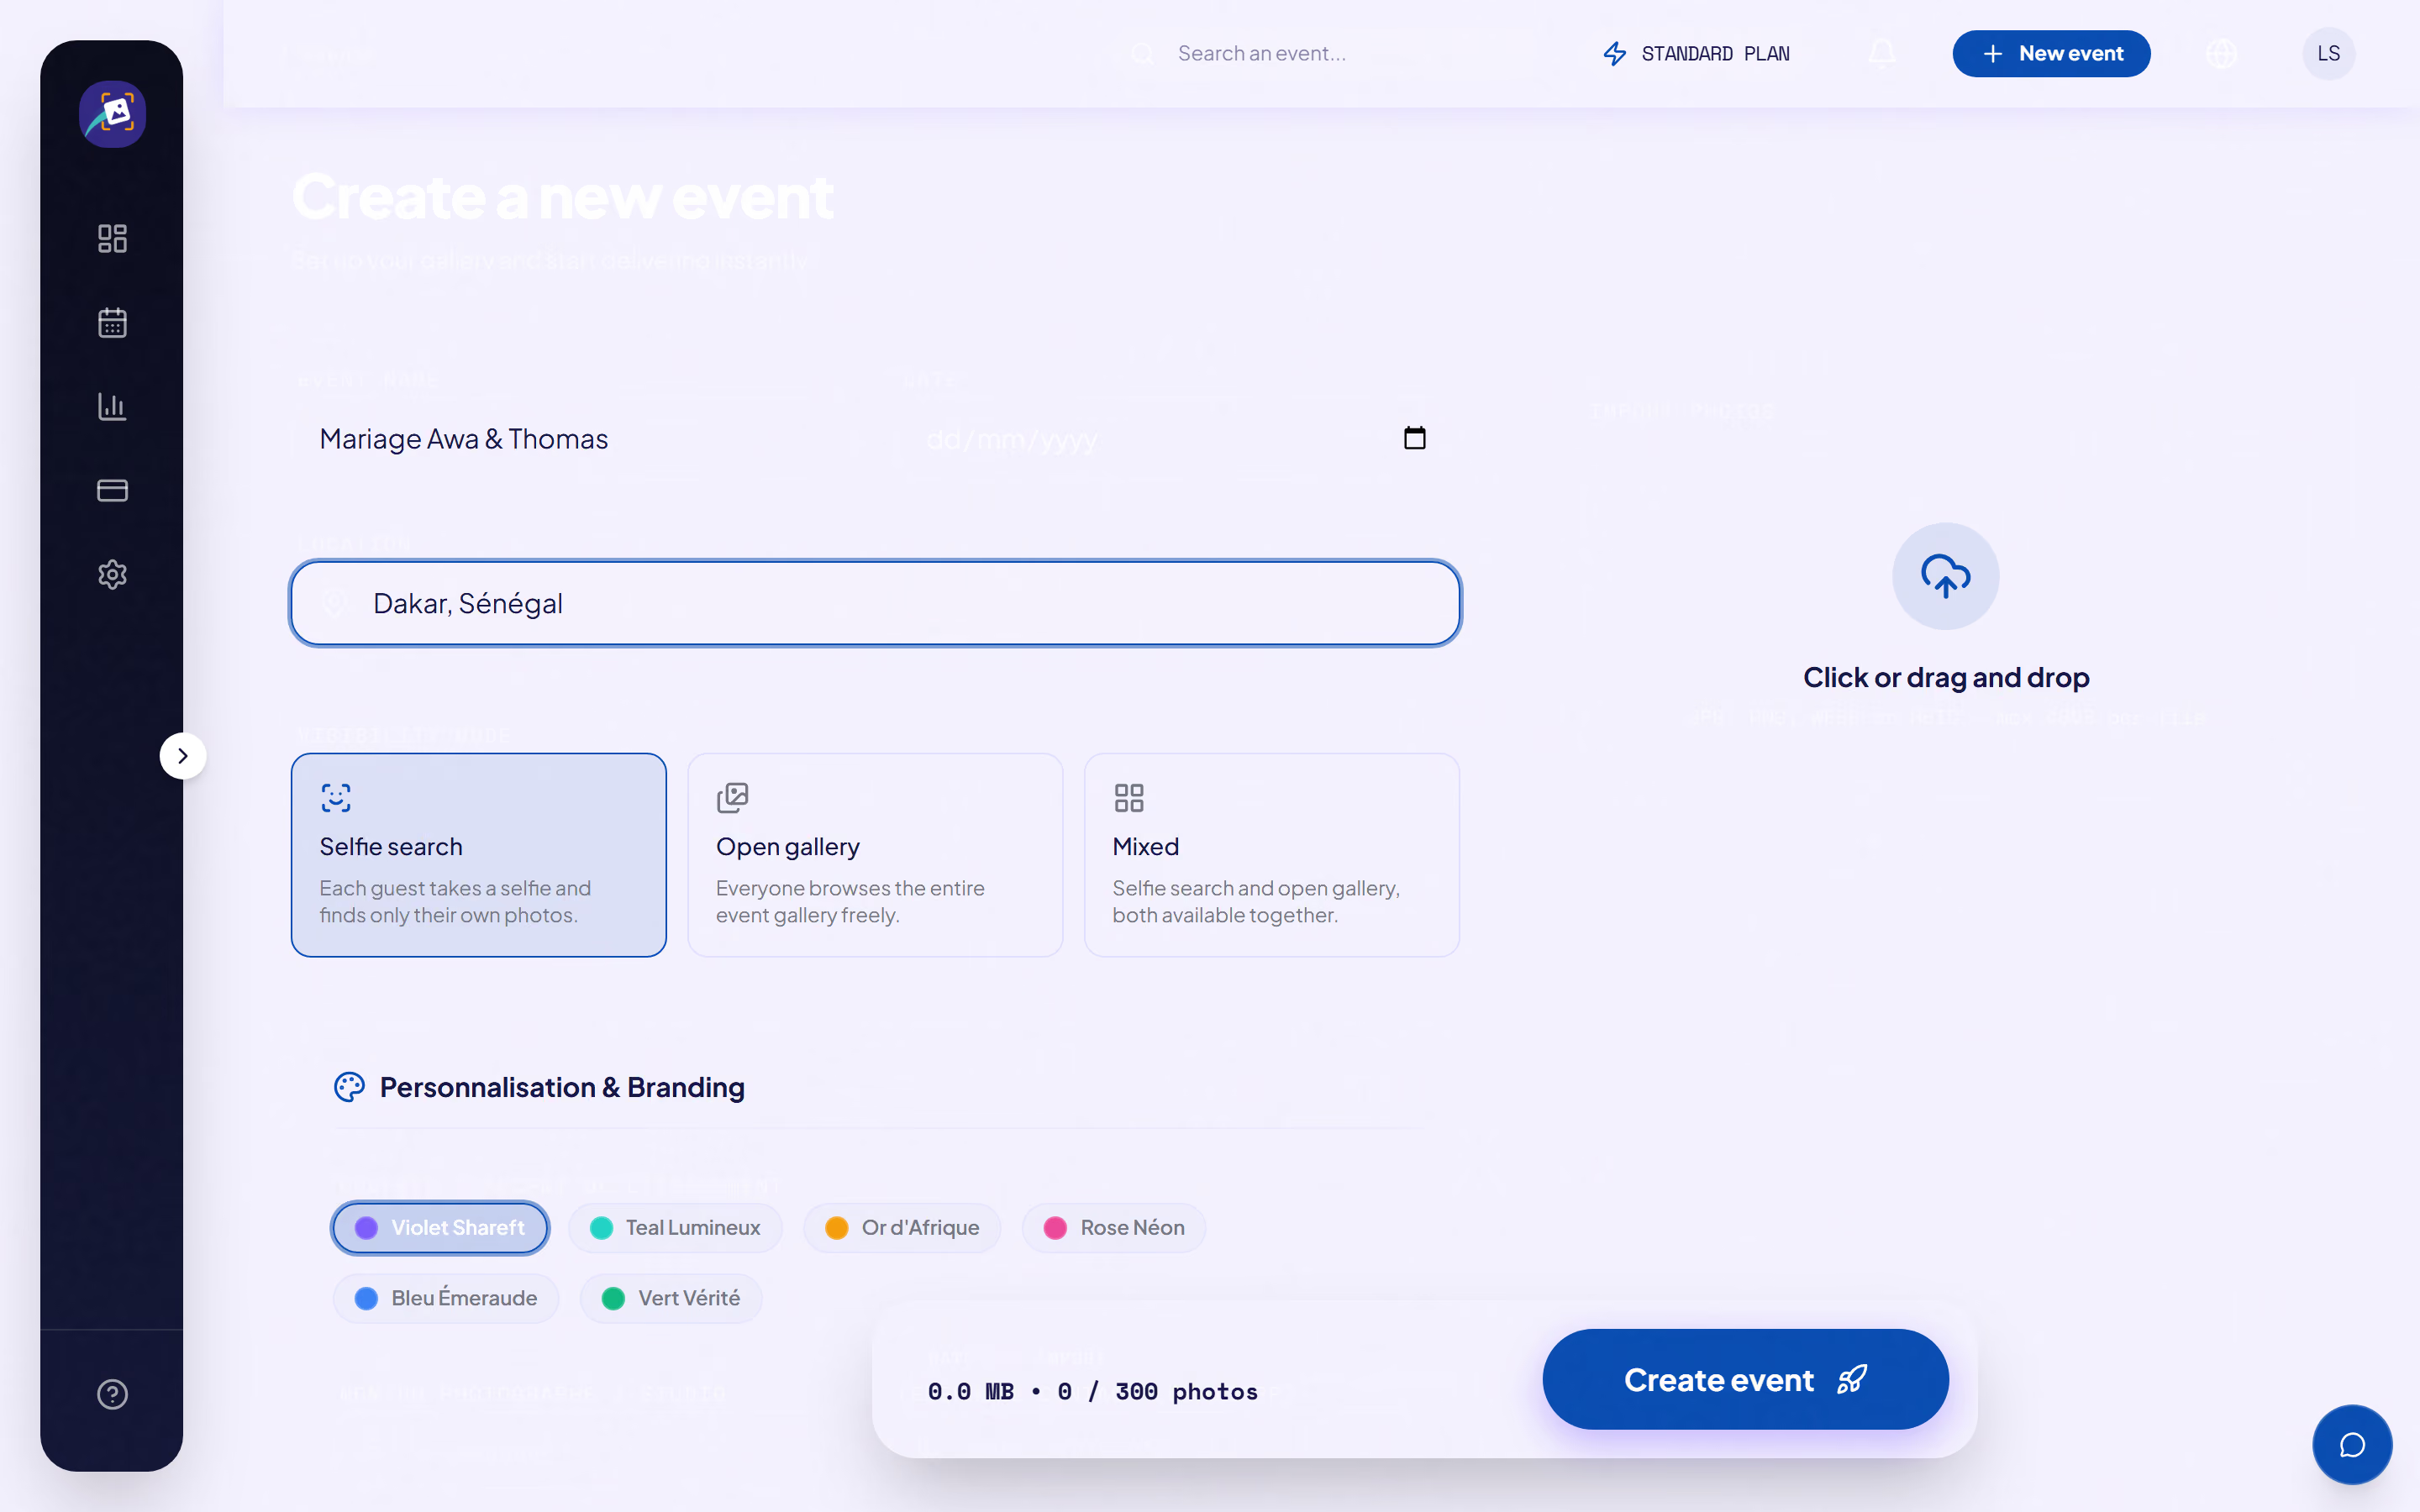
The creation screen fits on a single two-column page: event details on the left, the upload area on the right.
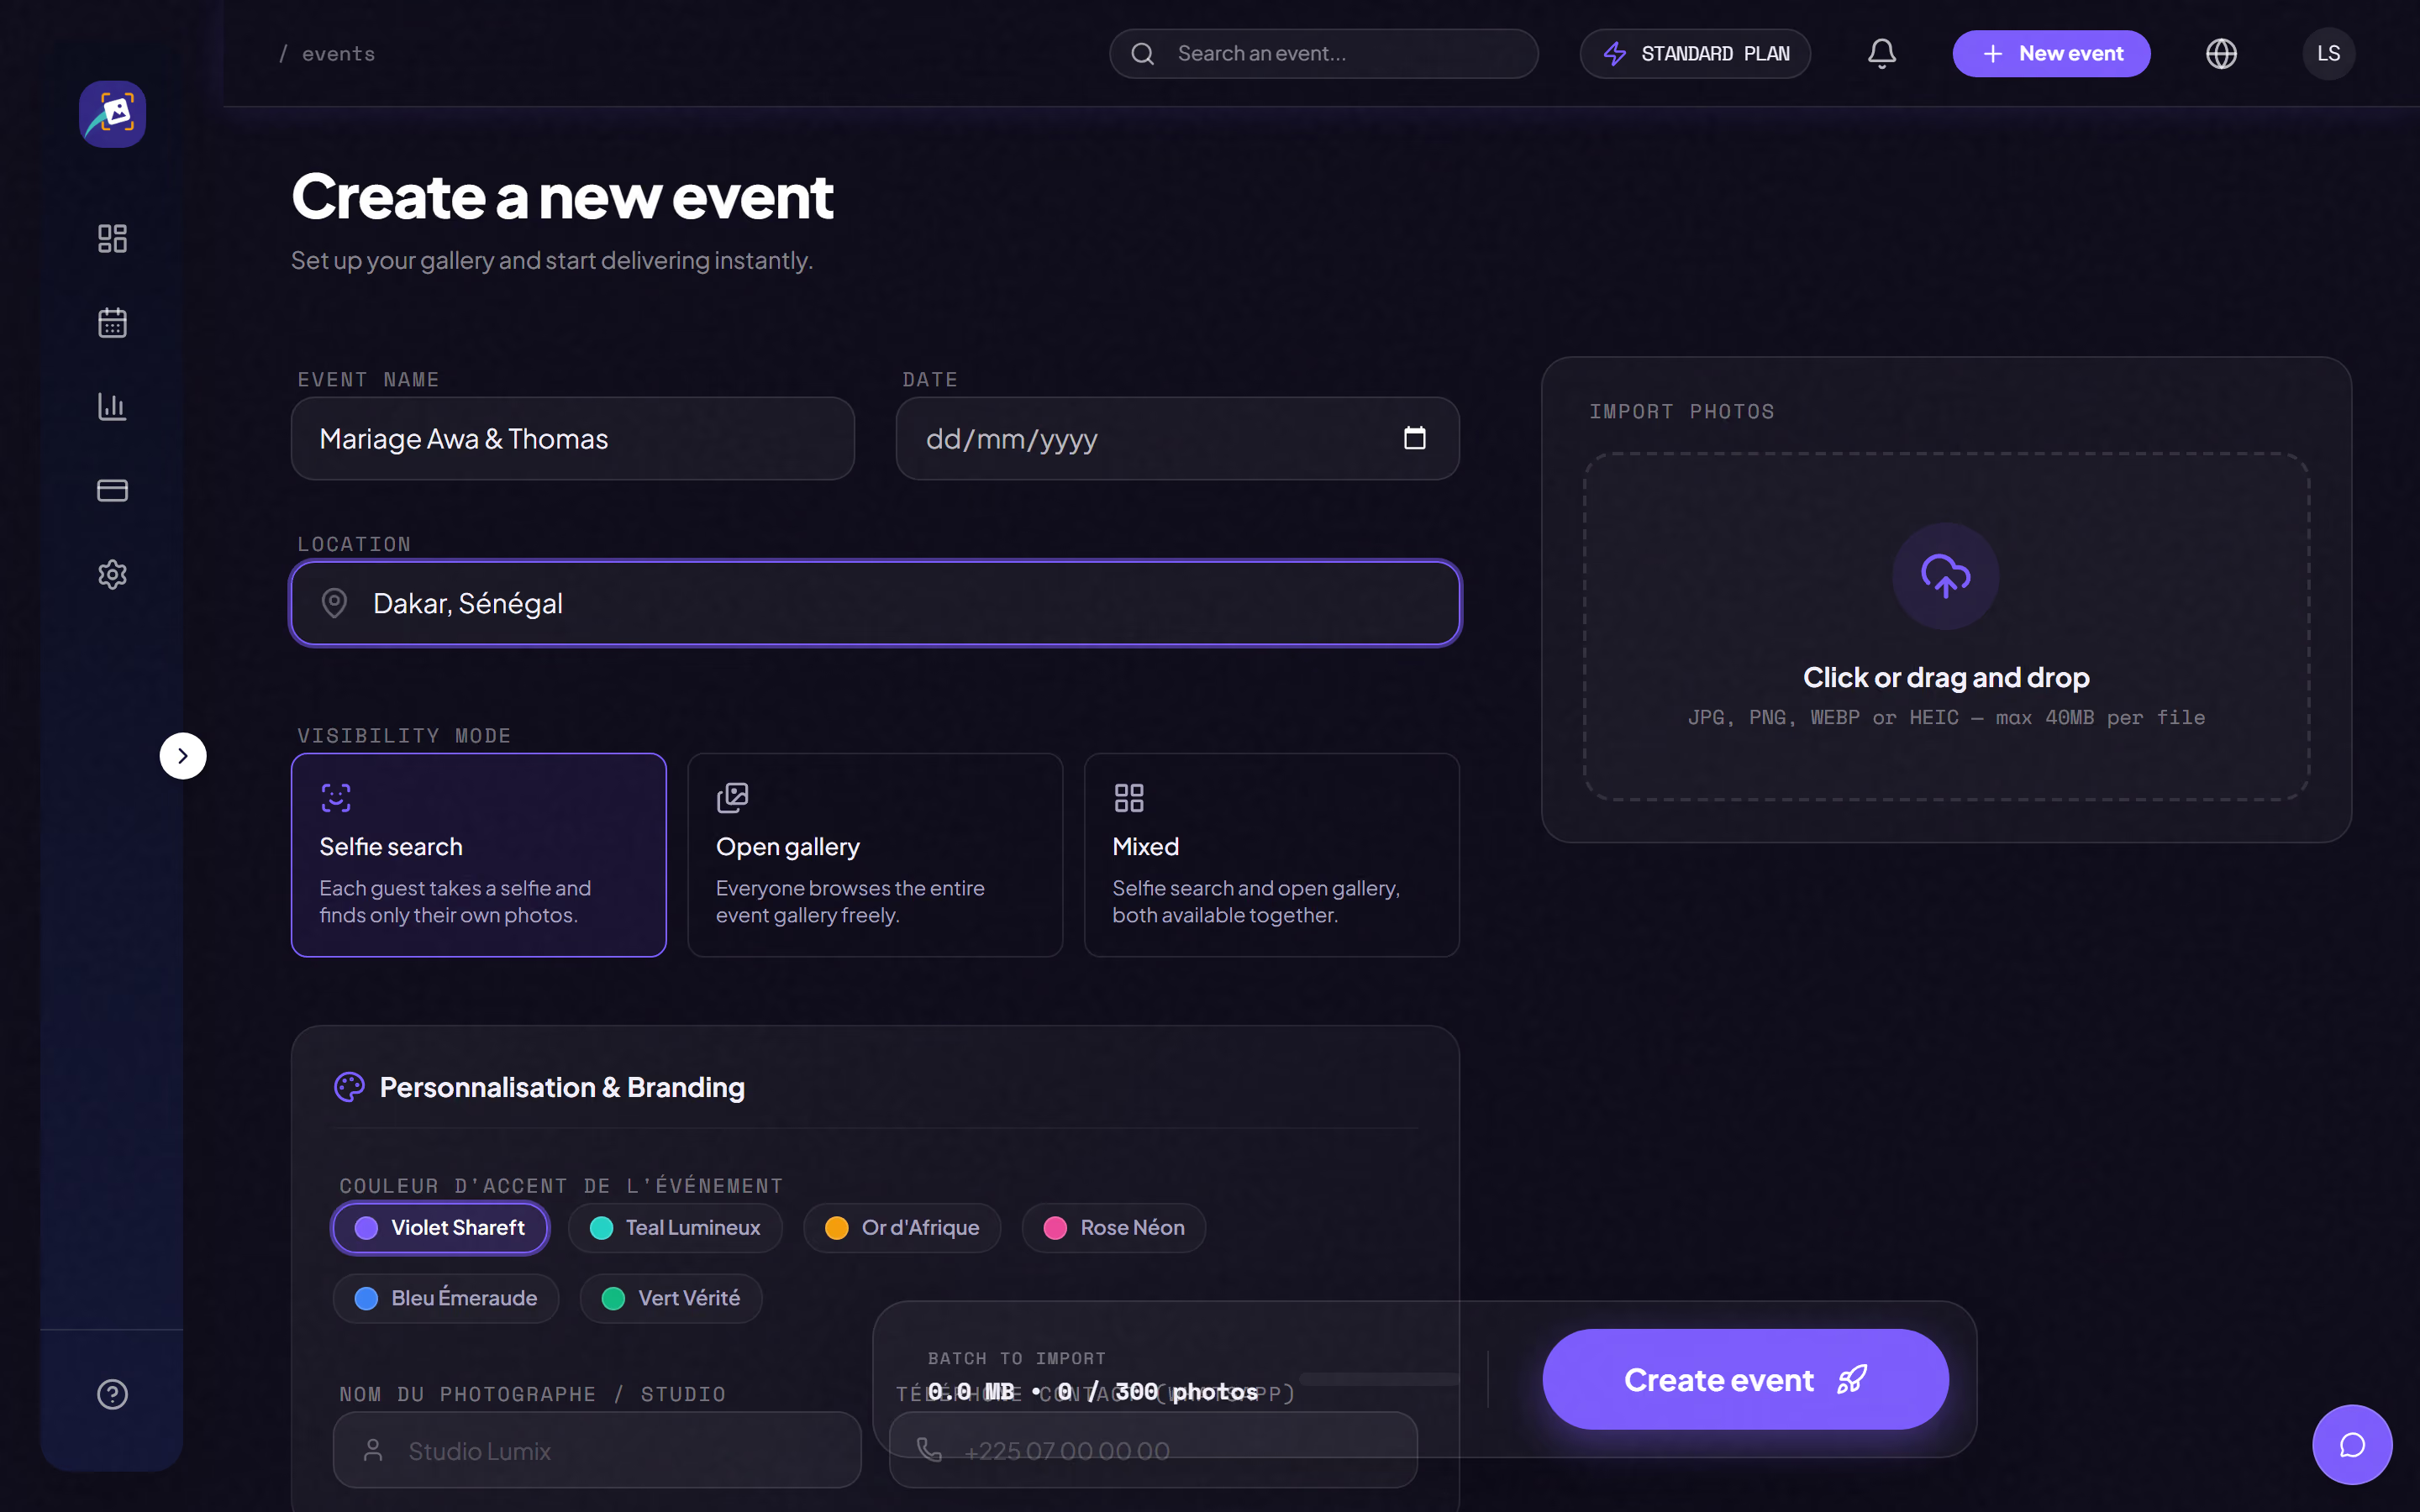
- Give the event a clear name. It shows on the public page and names the archives your guests download.
- Enter the date and place.
- Choose the visibility mode (see the dedicated article).
- Optional: drop your photos into the upload area now. They go out automatically as soon as the event is created.
- Confirm.
A floating bar keeps showing the total size of your selected batch and how much quota it uses, so nothing catches you out at the end of the upload.
Good to know: you can only create an event once your email address is verified.
Was this article helpful?
Related articles
Still need help?
Reach out to us directly.